
Basement Bathroom Remodel Permits in Aurora: Inspections and Timeline
A basement bathroom remodel in Aurora runs through the permit office whether you hire a contractor or swing the hammer yourself. That surprises a lot of hands-on homeowners. You can hang your own drywall without anyone caring, but the moment you cut into a concrete slab to add a drain line, the city wants to see the work before it gets covered up. This article walks through the permits, the inspections, and the order they happen in, so you can plan which parts to do yourself and which parts to hand to a licensed trade.
The plumbing is what makes a basement bathroom different from any other bathroom in the house. You are working below the sewer line in most Aurora basements, which means ejector pumps, rough-in trenches, and venting questions that never come up on the main floor. Those are also the exact items inspectors look at hardest. Here are eight things to know before you pull a permit, listed roughly in the order you will hit them on a real project.
1. Yes, You Need a Permit, and Skipping It Costs More Later
Adding a bathroom to a basement in Aurora requires building, plumbing, and electrical permits, full stop. Any project that adds fixtures, cuts the slab for drain lines, runs new circuits, or builds new walls falls under permit requirements. There is no square-footage exception that lets a bathroom slide through.
The horror stories you have heard are real in principle. Unpermitted plumbing under a slab is the worst kind to get caught with, because the fix means breaking up a finished floor to expose the lines for inspection. If you plan to sell in a few years, or rent the basement as a legal unit, unpermitted work also shows up in disclosures and appraisals. A permitted basement bathroom remodel protects the value you are trying to add; an unpermitted one can subtract from it.
2. Homeowners Can Pull Their Own Permits, With Limits
Aurora, like most Colorado cities, lets an owner-occupant pull permits for work on their own home. That means you can legally do your own framing, drywall, tile, and paint under a homeowner permit, and you can often do your own plumbing and electrical too, as long as you live in the house and can pass the same inspections a licensed trade would.
However, there are two practical limits. First, if the home is a rental or you plan to rent the basement, cities generally require licensed contractors for trade work; house-hackers planning a basement unit should confirm this before starting. Second, passing a plumbing rough-in inspection on a below-grade bathroom is harder than it sounds. Slope, venting, and ejector pump connections have specific code requirements, and inspectors check all of them. Many DIYers hire a licensed plumber for the rough-in and take back over at drywall.
Where the DIY Line Usually Falls in Your Basement Bathroom Remodel
For most permit-wary homeowners, the split looks like this:
- Hire out: slab cutting and drain rough-in, ejector pump installation, gas or electrical circuit work, and HVAC changes.
- Do yourself: demolition, framing non-structural walls, insulation, drywall, tile, trim, paint, and setting fixtures after the rough-ins pass.
That split keeps the license-sensitive, inspection-heavy work with pros while you keep the labor hours you are best positioned to save money on.
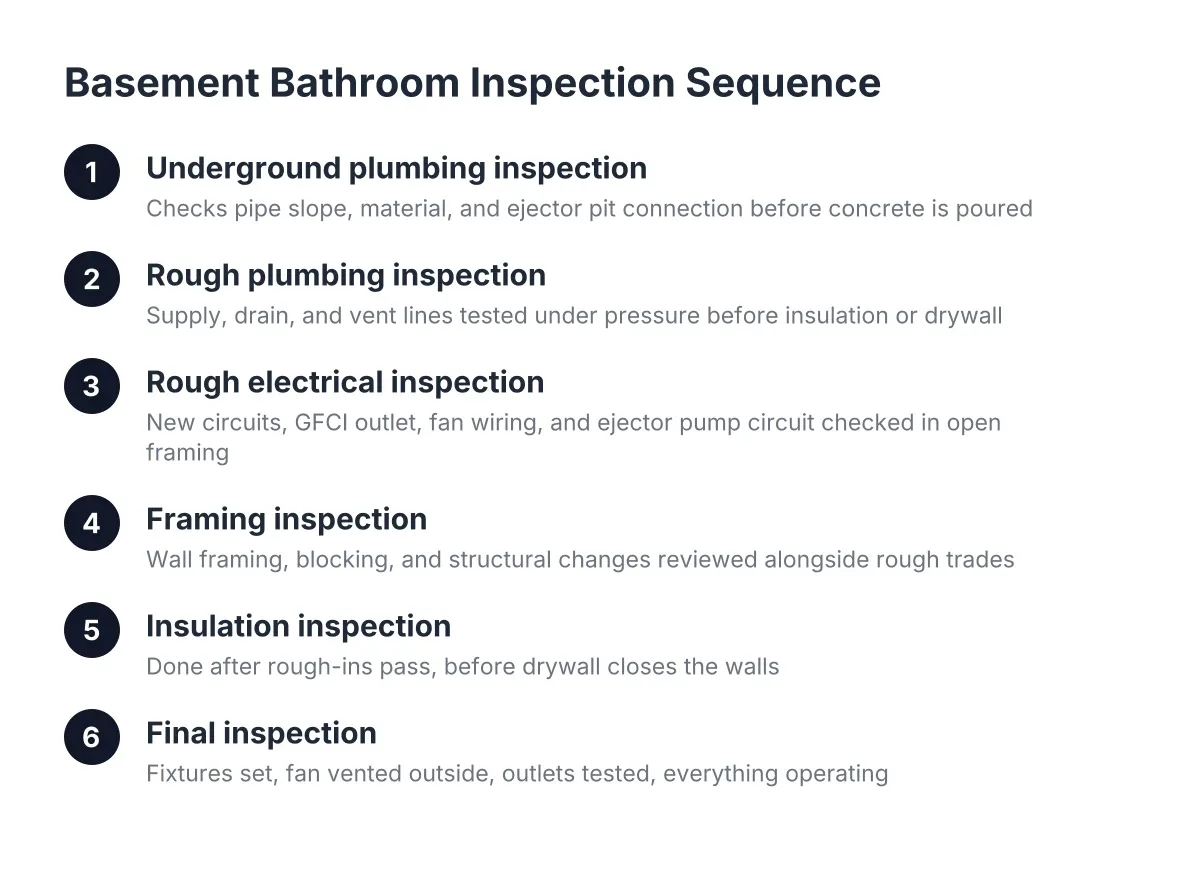
3. Know Your Inspection Sequence Before You Schedule Anything
A basement bathroom addition in Aurora typically moves through inspections in a fixed order, and each one has to pass before the next stage of work can start. Plan around this sequence, because covering work before its inspection is the single most common way DIY projects get red-tagged.
Here is the typical order for 2026 projects:
- Underground plumbing inspection. After the slab is cut and drain lines are set in the trench, but before concrete goes back in. The inspector checks pipe slope, material, and the ejector pit connection.
- Rough plumbing inspection. Supply lines, drain arms, and vent runs in the walls, tested under pressure, before insulation or drywall.
- Rough electrical inspection. New circuits, the GFCI-protected bathroom outlet, the exhaust fan wiring, and the ejector pump circuit, all visible in open framing.
- Framing inspection. Wall framing, blocking, and any structural changes, usually reviewed alongside the rough trades.
- Insulation inspection. After rough-ins pass and insulation goes in, before drywall closes the walls.
- Final inspection. Fixtures set, fan vented outside, outlets tested, and everything operating.
Electrical rough-in and insulation are separate stops, not one visit, and the gap between them is where impatient DIYers get in trouble. Do not hang drywall the weekend after your electrician finishes; wait for the insulation sign-off.
4. The Ejector Pump Is the Inspector's Favorite Stop
Most Aurora basements sit below the home's main sewer line, so gravity cannot carry waste out. The standard answer is a sewage ejector pump: a sealed pit in the slab collects waste from the toilet, sink, and shower, then a pump pushes it up to the main line. Inspectors pay close attention here because a bad ejector installation fails in ways nobody wants to discover.
Specifically, they check that the pit is sealed and vented, that the discharge line has a check valve, and that the pump runs on its own properly protected circuit. An upflush toilet, which macerates waste and pumps it up through small-diameter pipe, is the common alternative when you want to avoid cutting the slab. It still needs a plumbing permit, and it trades lower installation disruption for more mechanical parts that can wear out. For a rental unit, most plumbers lean toward a conventional ejector pit because tenants are hard on equipment.
5. Venting Rules Are Where Generic Advice Falls Apart
Basement bathroom plumbing options all share one below-grade problem: every fixture needs a vent, and vents want to go up while your pipes sit at the bottom of the house. You cannot just tie a new toilet into a drain and call it done. The inspector will trace every vent path at rough-in.
Depending on your layout, the fix is a new vent run tied into an existing stack, or in some cases an air admittance valve where the code official allows one. Which option works depends on your existing stack locations and the joist directions above the bathroom. This is a spot where an hour of a licensed plumber's time before you draw your permit plans saves a failed inspection later. Mechanical ventilation matters too: a bathroom without a window needs an exhaust fan ducted to the outside, not into the joist bay, and the final inspection checks for it.
6. If the Bathroom Comes With a Bedroom, Egress Comes With It
Many basement bathroom projects are really bedroom-plus-bathroom projects, especially for landlords building a legal basement unit. The moment a sleeping room enters the plans, egress requirements apply. Under the IRC 2024 code, every basement sleeping room needs an emergency escape opening with at least 5.7 square feet of net clear opening, according to EgressUSA. The opening also needs a minimum net clear width of 20 inches and a sill no higher than 44 inches above the finished floor, according to The Great Egress Co.
Egress window sizing trips up more DIYers than any other single code item, because an existing basement window that looks big enough often is not once you measure the net clear opening. Cutting concrete for a basement escape window and setting the well is its own permitted scope, and it is far easier to do before the interior walls are framed and finished. Sequence it early. Retrofitting egress into an already-finished basement can mean tearing out framing and drywall to make room for structural reinforcement around the new opening.
7. Timeline and Sequencing for Your Basement Bathroom Remodel in Aurora
A permitted basement bathroom addition in Aurora usually spans several weeks to a few months from permit application to final inspection, and inspections themselves drive most of the calendar. Each rough-in stage stops work until an inspector signs off, so the schedule depends as much on sequencing as on labor hours.
For example, suppose a house-hacker in an Aurora rental-heavy zip code buys a home with an unfinished basement and wants a bedroom, a 5×7 bathroom, and a legal egress window for a basement unit. In that scenario, a realistic sequence looks like: two to four weeks for plans and permit review, a week for slab cutting and underground plumbing plus its inspection, a week or two for rough plumbing, electrical, and framing inspections, then the insulation inspection, and finally several weeks of drywall, tile, and finish work the owner does personally on nights and weekends before the final. The trades finish their part in days; the waiting between inspections and the DIY finish work set the pace.
Timing the project matters too. When material prices are climbing sharply, waiting a season for them to settle can beat starting mid-spike, especially on a project where you control the schedule.
8. Budget Around the Below-Grade Premium, and Get Real Numbers Locally
The cost to add plumbing to a basement runs higher than a same-size bathroom upstairs, because the budget has to absorb slab cutting, the ejector pump and pit, new vent runs, and permit and inspection fees. A 5×7 bathroom holds down material quantities, but the labor for below-grade rough-in does not shrink with the room, so small basement bathrooms still carry the full plumbing premium.
The payoff side is real, though. A national basement remodel returns 71% of its cost at resale on average, the highest return among newly tracked project categories, according to the JLC (Journal of Light Construction) Cost vs. Value Report. For a landlord, a legal bathroom is often the line between an unrentable basement and a rentable unit, which changes the math entirely. Because slab conditions, sewer line depth, and existing stacks vary house to house, national cost articles cannot price your project; a free estimate from a local basement finishing contractor who can look at your actual slab and stack locations will get you a number worth planning around.
The Short Checklist Before You Apply
Pull these answers together before you file for your basement remodeling permit, and the rest of the project gets simpler:
- Where is your main sewer line, and does the bathroom sit above or below it?
- Ejector pit or upflush unit, and who installs it?
- Where will each fixture vent, and does the path exist or need to be built?
- Is a bedroom part of the plan, and does the egress window meet net clear opening requirements?
- Which trades will you hire, and which stages will you do yourself?
- Have you mapped the inspection sequence into your calendar, including the wait between rough-in and insulation?
One honest caveat: if your basement shows water intrusion, or the slab hides an unknown drain layout, bring in a professional before you commit to a design. More than 60% of U.S. homes with basements experience some degree of water penetration or moisture problems, according to the American Society of Home Inspectors, and a wet basement needs to be dried out before any bathroom goes in on top of it. Get the permits, respect the inspection order, hire out the below-grade plumbing, and keep the finish work for yourself. That split passes inspection the first time and keeps the savings where you wanted them.
If you need basement finishing, Aurora Basement Finishing Pros can help.
Prefer to talk it through? Call (720) 973-5727 — a quick call is usually the fastest way to get a straight answer for your situation.