
Raising Basement Ceiling Height: A Step-by-Step Guide to Options, Costs, and Structure
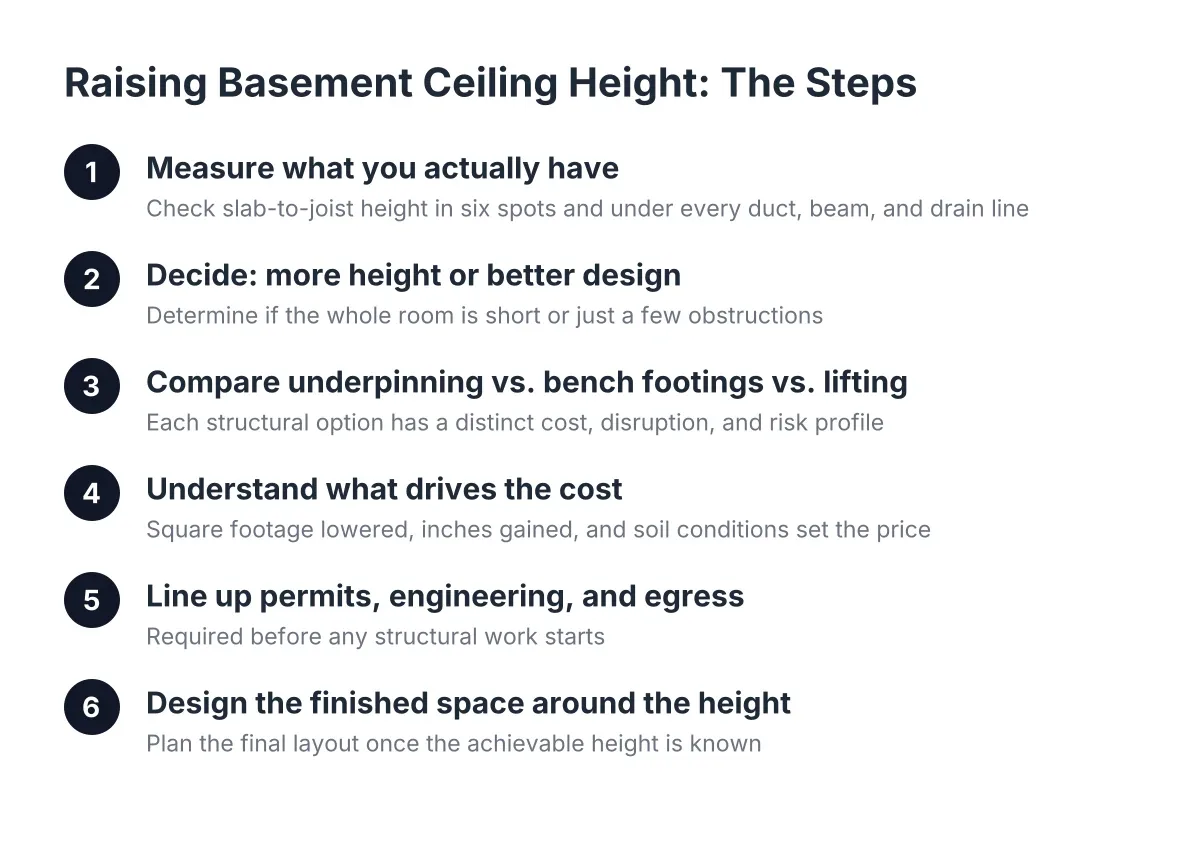
If your Aurora basement measures out at 6 feet 10 inches under the joists, you have two paths: work with the height you have, or commit to raising basement ceiling height for real. The second path is one of the most invasive projects in residential construction, and most low ceiling articles skip the details you actually need. This guide walks through the process step by step, from measuring what you really have to deciding whether underpinning, bench footings, or a smarter layout is the right call. If you plan to rent the finished space or add a legal bedroom, the structural and permit decisions here matter even more.
Step 1: Measure What You Actually Have
Start with a tape measure and a notepad. Measure from the slab to the underside of the floor joists in at least six spots across the basement. Old slabs are rarely level, and an inch of variation changes your options.
Next, measure under every duct, beam, and drain line. The lowest obstruction, not the joist height, is what your future rooms will feel like. Write down where each obstruction runs and what it carries: supply air, return air, plumbing, or gas.
Aurora enforces the International Residential Code, which sets minimum ceiling heights for habitable rooms, with allowances for beams and ducts that project below the ceiling. Before you plan around any number, confirm the current requirement with the Aurora Building Division, since local amendments and code cycles change. As of 2026, checking directly with the city is still the only answer that holds up at inspection.
Step 2: Decide Whether You Need More Height or Better Design
Ask one question honestly: is the whole basement too short, or do a few ducts and one beam make it feel too short? The answer decides whether you spend on structure or on design.
Suppose a homeowner near Del Mar Park has 7 feet 2 inches to the joists but a main trunk duct that drops to 6 feet 4 inches through the middle of the room. Digging down would cost tens of thousands of dollars. Rerouting or splitting that duct might solve the entire problem for a fraction of it. In that scenario, structural work is the wrong tool.
Design-side fixes fall under low ceiling basement solutions, and they include:
- Rerouting or splitting ductwork so bulkheads hug the walls instead of crossing the room
- Building a tray ceiling around relocated ducts to keep full height in the main living area
- Drywalling directly to the joists instead of installing a dropped ceiling, saving 3 to 4 inches
- Choosing thin flooring like glue-down vinyl plank over thick subfloor systems
- Painting the ceiling and exposed structure a single dark color in a gym or media room to make the ceiling read taller
If those fixes get your habitable rooms to code height, stop here and move to Step 6. If the slab-to-joist number itself fails code, keep reading.
Can You Increase Basement Ceiling Height at All?
Yes, you can increase basement ceiling height in most homes, but only by moving one of two things: the floor or the house. Lowering the slab by excavating below the existing foundation is the common route. Lifting the entire structure to add wall height is the rare, more disruptive route. Both are structural projects that require engineering and permits in Aurora.
Which route fits depends on your foundation type, soil, water table, and budget. A structural engineer's evaluation is the gatekeeper for either one. No contractor should quote this work without it.
Step 3: Compare the Two Ways of Raising Basement Ceiling Height
If you need real inches, you are choosing between digging down and lifting up. Each has a distinct cost profile, disruption level, and risk.
Option A: Lower the Slab with Underpinning
Underpinning means excavating below your existing footings in short, alternating sections, pouring new deeper footings, and then breaking out and repouring the slab at the lower level. Done right, it can gain a foot or more of ceiling height across the full footprint.
The trade-offs are serious. It is the most expensive basement project most homeowners will ever consider, it takes weeks to months, and it puts your foundation in the hands of the crew doing it. Sequencing mistakes can crack walls upstairs. This is engineer-designed, permitted, inspected work from the first shovel.
Option B: Bench Footings
Bench footings lower the slab in the middle of the basement while leaving a sloped or stepped concrete bench around the perimeter. The bench braces the existing foundation so you avoid underpinning under every wall.
You lose floor area at the edges, usually 2 to 3 feet on each side. However, benches can become built-in seating, shelving, or mechanical platforms in a smart design. For a landlord finishing a basement unit, the math often favors bench footings: less cost per inch gained, at the price of a smaller room footprint.
Option C: Lifting the House
Raising the structure and extending the foundation walls upward gains height without touching the slab. It works best on smaller, simpler homes with straightforward framing. On most Aurora ranches and two-stories, the cost of disconnecting utilities, lifting, and rebuilding connections makes it the last option engineers reach for. Some homeowners ask about jacking only the floor joists a couple inches; that shifts every load path above and is not a DIY adjustment.
Step 4: Understand What Drives the Cost to Raise Basement Ceiling Height
The cost to raise basement ceiling height swings widely from house to house, which is why no honest contractor quotes it over the phone. The main drivers are:
- Square footage of slab being lowered
- Inches of height gained, since deeper digs mean more excavation and more concrete
- Soil conditions and water table, which Aurora's clay-heavy soils complicate
- Foundation type and condition, since cracked or stone foundations need more support work
- Relocating what lives in the slab: drain lines, sewer depth, sump systems, and radon piping
- Engineering, permits, and required inspections
Sewer depth deserves special attention. If your main drain exits the house higher than your new slab, you may need a sewage ejector pit, which adds cost and a mechanical system to maintain. Get a camera scope and depth measurement before anyone prices the dig. Rather than guessing from national averages, get a free estimate based on your actual basement; the spread between an easy dig and a hard one is too wide for a generic number to mean anything.
One warning on a shortcut that fails: pouring new concrete against the old wall to raise the floor, or to seal a wet edge, does not waterproof anything. The cold joint between new and old concrete will not hold back water. Moisture planning matters here, since more than 60% of U.S. homes with basements experience some water penetration or moisture problems, according to the American Society of Home Inspectors. Any slab-lowering project should include a vapor barrier under the new concrete, which blocks ground moisture from moving up into the slab, according to W. R. Meadows.
Step 5: Line Up Permits, Engineering, and Egress Before Work Starts
For the permit-wary DIYer, here is the clean division of labor. Structural excavation, foundation work, and new concrete are engineer and licensed-contractor territory, permitted and inspected at multiple stages. Aurora will require stamped structural drawings for underpinning or bench footings. Skipping the basement remodeling permit on structural work is the tear-out horror story your neighbor warned you about, and it surfaces at resale when the buyer's inspector asks for records.
Egress belongs in the same planning conversation. If the finished space includes a bedroom, that room needs a basement escape window meeting egress window sizing rules. Under the IRC 2024 code, every basement sleeping room needs an emergency escape and rescue opening with at least 5.7 square feet of net clear opening, according to EgressUSA. The opening also needs a maximum sill height of 44 inches above the finished floor and a minimum net clear width of 20 inches, according to The Great Egress Co. Lowering the slab changes your finished floor height, which changes where that 44-inch sill lands, so size the egress window after the structural plan is set, not before.
What you can reasonably keep for yourself: once structural, electrical rough-in, and egress work pass inspection, framing non-bearing walls, hanging drywall, and painting are common owner-builder tasks under the same permit. Confirm with Aurora which portions an owner may perform on their own home before you commit to that split.
Step 6: Design the Finished Space Around the Height You End Up With
Whichever path you chose, the finish plan should protect every inch you paid for. Run bulkheads along walls, not across open rooms. Keep the space at the bottom of the stairs inside the finished area instead of walling it off as storage; that dead zone at the entry is one of the most common layout mistakes in basement finishing. Where a chase under the stairs cannot be opened structurally, a smaller lit opening can make it feel like part of the room instead of a sealed box.
For flooring, thin and direct-glue products preserve height, while thick subfloor panels trade an inch of ceiling for a warmer floor. That trade-off is worth making in a rental bedroom over bare slab and worth skipping in a home gym.
For a house-hacker, the payoff math is favorable. A basement remodel returns 71% of its cost at resale on average, the highest ROI among newly tracked categories in the 2025 Cost vs. Value Report, according to JLC. Add rental income from a legal, code-compliant basement bedroom, and the payback case gets stronger. However, that return only holds if the space passes inspection; an unpermitted bedroom with no egress window is a liability, not an asset.
The honest bottom line: most Aurora basements do not need structural height work, and a good design pass should always come before a quote to dig. When the numbers say the dig is worth it, treat the engineering, permits, and egress plan as one package, because that is what the city inspects and what your future buyer or tenant will rely on.
If you need basement finishing, Aurora Basement Finishing Pros can help.
Prefer to talk it through? Call (720) 973-5727 — a quick call is usually the fastest way to get a straight answer for your situation.