
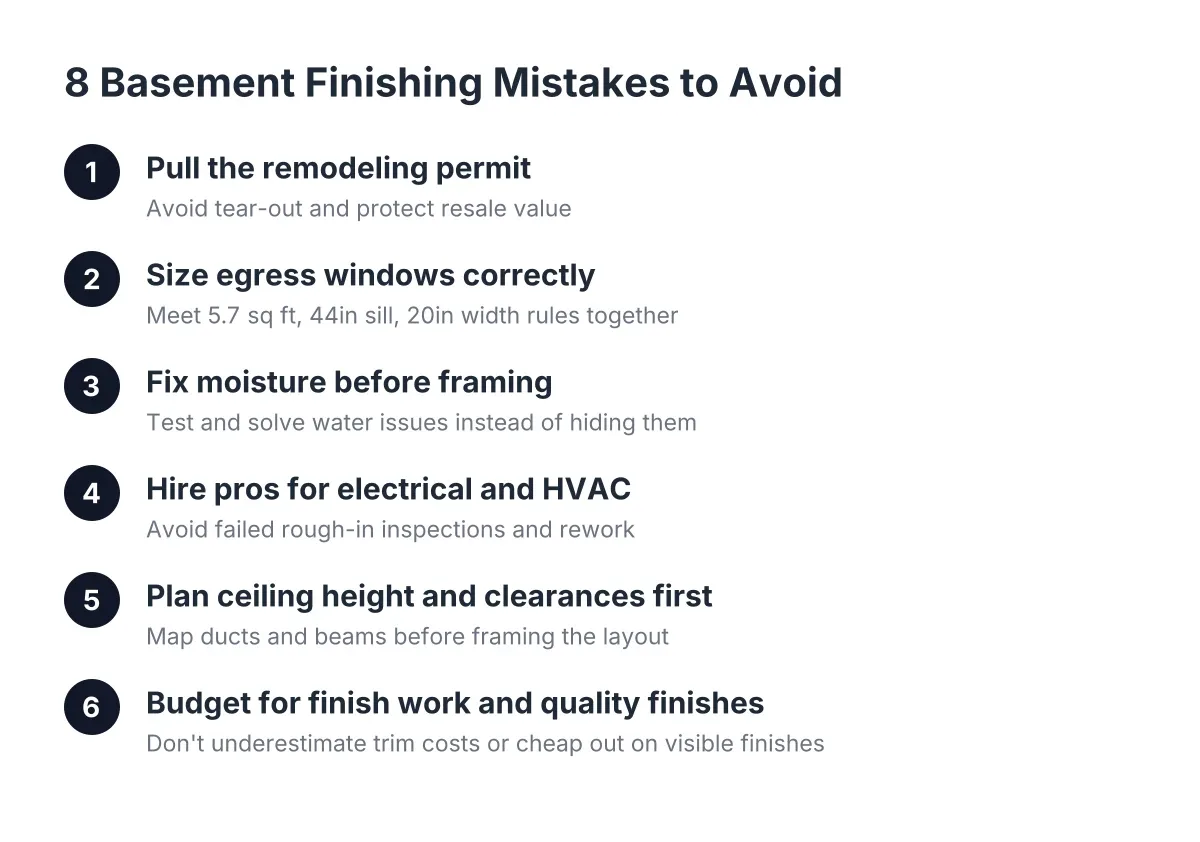
8 Common Basement Finishing Mistakes That Cost Aurora Homeowners Extra Money
Most of the common basement finishing mistakes we see in Aurora have nothing to do with bad luck. They come from skipping a permit, guessing at egress window sizing, or rushing a step that an inspector will make you redo later. Each one adds real money to your basement finishing cost, sometimes thousands of dollars in tear-out and rework.
This list is written for the homeowner who plans to do part of the work himself and hire pros for the rest. That is a smart approach if you know where the traps are. Here are the eight mistakes that cost the most, and how to avoid each one in 2026.
1. Skipping the Basement Remodeling Permit
Finishing a basement in Aurora without a permit is the single most expensive mistake on this list. If the city finds unpermitted work, you can be required to open up finished walls so an inspector can see the framing, wiring, and insulation behind them. That means cutting into drywall you already paid for, taped, and painted.
The permit also protects you at resale. A buyer's inspector or appraiser who spots a finished basement with no permit on record can stall or kill a sale. If you plan to sell in the next few years, the permit is what lets that finished square footage count in your favor instead of against you.
Pulling a basement remodeling permit is not as painful as the horror stories suggest. You submit a simple floor plan, pay a fee based on project value, and schedule inspections at set points. If the paperwork is the part you dread, permit assistance is a normal service; you can hire out just that piece without committing to a full remodel.
2. Getting Egress Window Sizing Wrong for a Basement Bedroom
If your plan includes a basement bedroom, egress is not optional. Under the IRC 2024 code, every basement sleeping room needs an emergency escape and rescue opening with at least 5.7 square feet of net clear opening, according to EgressUSA. The opening must also meet a maximum sill height of 44 inches above the finished floor and a minimum net clear opening width of 20 inches, per The Great Egress Co.
Here is the trap: those requirements apply at the same time. A window can hit the 5.7 square feet and still fail because the sill sits too high, or because the sash design cuts the clear opening below the minimum width. Plenty of homeowners measure the glass, not the net clear opening, and find out at final inspection that the bedroom cannot legally be a bedroom.
Fixing a failed egress window after drywall and flooring are in means cutting concrete, excavating a window well, and repairing finishes around the new opening. Done first, before framing, a basement escape window is a contained project. Done last, it is demolition. This is one area where even confident DIYers should bring in a pro, since cutting a foundation wall affects the structure of your house.
3. Framing Over Moisture Problems Instead of Fixing Them
Water is the quiet budget killer in basements. More than 60 percent of U.S. homes with basements have some degree of water penetration or moisture problems, according to the American Society of Home Inspectors. If your slab or walls show dampness, efflorescence, or a musty smell, finishing over it just hides the problem until it ruins drywall, carpet, and framing.
A related mistake is putting a vapor barrier in the wrong place. Homeowners often assume any plastic sheeting stops moisture, but a barrier installed on the wrong side of a framed wall traps water inside the assembly and speeds up mold growth. Test for moisture before you buy a single stud. Tape a square of plastic to the slab for a few days; if condensation forms underneath, address the moisture source first.
The cheap fix now beats the expensive fix later. Grading, downspout extensions, sealing, or a drainage solution might feel like money spent on nothing you can see. It is still far less than tearing out a moldy finished wall three years after you painted it.
4. Doing Your Own Electrical to Save Money
Electrical is the trade DIYers most often regret handling themselves. Basement wiring has to pass a rough-in inspection before insulation and drywall go up, and inspectors look closely at box fill, circuit sizing, grounding, and cable protection. Fail that inspection and your whole project stalls while you rework it.
The details matter more than most homeowners expect. For example, running standard non-metallic sheathed cable inside EMT conduit is against code in damp or wet locations, according to the National Electrical Code (NFPA 70). Getting a detail like that wrong in twenty places means redoing it in twenty places.
A practical split: do the framing, drywall, trim, and paint yourself, and hire a licensed electrician for the wiring. The same logic applies to HVAC. Those two trades require licensing and specialized skill, and they are the parts of a basement finish inspectors scrutinize hardest. Paying a pro for them is usually cheaper than paying twice.
5. Ignoring Ceiling Height and Mechanical Clearances in the Design
A low ceiling basement needs a plan before it needs lumber. Code sets minimum heights for habitable rooms, and ducts, beams, and drain lines eat into that number fast. Homeowners who frame first and measure later end up with a hallway you duck through or a bathroom that fails inspection on height.
Instead, map every duct run, beam, and pipe before you design a basement layout. Sometimes rerouting one duct opens up the whole main room. Sometimes the answer is a drywalled soffit placed where it frames the space instead of chopping it up. In tighter cases, there are low ceiling basement solutions like furring strategies and flat mechanical reroutes that keep rooms legal.
Suppose a homeowner in southeast Aurora frames out a home theater, then discovers the main trunk duct drops the ceiling below code height across the middle of the room. The rework means pulling framing, hiring an HVAC contractor to reroute the trunk, and reframing. All of that was avoidable with a tape measure and an hour of planning.
6. Wasting the Space at the Bottom of the Stairs
One of the quieter finishing mistakes to avoid in your basement is a layout that finishes only part of the footprint and leaves the area at the bottom of the stairs as raw storage. You walk downstairs into an unfinished zone, then through a door into the nice part. It feels like an afterthought, and buyers read it that way too.
For the equity-minded homeowner, this matters at resale. Finished square footage only helps your appraisal and your listing if it flows. A basement where the entry lands in the finished space, with storage tucked behind a wall at the far end, shows better and lives better than the reverse.
Fixing a layout on paper costs nothing. Fixing it after drywall means moving walls. Spend the planning time up front, and think about how someone walks through the space, not just how many rooms you can fit.
7. Underestimating Finish Work, Trim, and the Little Costs
Homeowners consistently underestimate how much trim a finished basement takes. Baseboard, door casing, window returns, stair skirts, and closet shelving add up to far more linear feet than a typical upstairs room. Budget lines for trim, doors, and hardware are where realistic estimates separate from wishful ones.
Other small costs pile on the same way:
- Drywall finishing supplies, primer, and more paint than you expect
- Light fixtures, outlet covers, smoke and carbon monoxide detectors
- Flooring transitions, underlayment, and stair nosing
- Dumpster or haul-away for demolition and scraps
- Permit and inspection fees
In addition, the inspection sequence itself can surprise first-timers. A typical basement finish gets an electrical rough-in inspection first, then a separate insulation inspection later, before drywall is approved. Hanging drywall before both are signed off is a tear-out waiting to happen. A line-item free estimate from a local contractor is the fastest way to see what a complete scope includes, even if you plan to self-perform half of it.
8. Cheaping Out on the Finishes Buyers Actually Notice
If resale is part of your plan, a bare-minimum finish can be its own mistake. A national basement remodel returns about 71 percent of its cost at resale on average, the highest ROI among newly tracked project categories in the 2025 Cost vs. Value Report, according to JLC (Journal of Light Construction) Cost vs. Value Report. That return assumes a finish buyers want, not the cheapest possible box.
Small design decisions carry a lot of that weight. Matching cabinet colors to wall colors across the whole basement, instead of treating each area as its own project, reads as a higher-end space. Consistent trim profiles and door styles do the same. None of that costs much more; it just takes deciding up front.
There is a trade-off to respect here. Pouring premium money into a basement makes the most sense when you commit to a complete, well-designed finish; a half-upgraded space returns the least. One more timing note: when material prices are climbing sharply, waiting a season for them to settle can beat starting mid-spike.
How to Avoid These Common Basement Finishing Mistakes on Your Project
Avoiding the mistakes that plague basement finishing projects comes down to sequence: permit and plan first, moisture and egress second, licensed trades for electrical and HVAC, and finishes last. Do the steps in that order, pass each inspection before covering anything up, and the expensive surprises mostly disappear.
Here is the short checklist version:
- Pull the basement remodeling permit before any framing starts.
- Verify egress window sizing against all the requirements at once, not just one number.
- Test and fix moisture before you insulate or frame.
- Hire licensed pros for electrical and HVAC; DIY the carpentry and paint if you want.
- Measure ceiling heights and mechanical runs before you design rooms.
- Lay out the space so the stair landing opens into finished area.
- Budget trim, fixtures, and fees as real line items.
- Finish to the standard your neighborhood expects if you plan to sell.
The good news for a hands-on homeowner: basements are a forgiving place to build skills, since minor cosmetic flaws in a basement rarely show. The unforgiving parts are code, water, and wiring. Handle those three correctly, either yourself with a permit and inspections or with local help on just the technical pieces, and the rest of the project is work you can genuinely do well.
If you need basement finishing, Aurora Basement Finishing Pros can help.
Related guide: basement finishing cost — Complete Guide
Prefer to talk it through? Call (720) 973-5727 — a quick call is usually the fastest way to get a straight answer for your situation.